THANK YOU
You’ve just
purchased a
lighting product
designed and built
to provide you
with many years of
enjoyment.
MERCI
Vous venez
d’acheter un
luminaire conçu
pour vous donner
des années de
plaisir.
G R ACIAS
Usted acaba de
adquirir un
excelente producto
de alumbrado
disenado y
construido para
proveerle muchos
años de satisfaccion.
12241-019
INSTRUCTIONS
• Please read all instructions prior to installation.
• Installation of this fixture must comply with local building codes.
• Installation of this fixture must be done by a qualified electrician.
• Veuillez lire toutes les instructions avant l’installation.
• L’installation de ce luminaire doit être faite selon le code local de
construction.
• L’installation de ce luminaire doit être faite par un électricien
qualifié.
• Favor de leer toda las instrucciones antes de comenzar la instalacion.
• La instalacion de esta luminaria (este producto) debera de cumplir con los
codigos locales de construccion.
• La instalacion de esta luminaria (este producto) debera ser realizada por un
electricista calificado.
Tools Required • Outils Nécessaires • Herramientas Requeridas
INSTALLATION & CONNECTIONS
IMPORTANT SAFETY INSTRUCTIONS
SAVE THESE INSTRUCTIONS FOR FUTURE REFERENCE
IMPORTANT: Use a qualified electrician for installation of this
lighting fixture.
INSTRUCTIONS
1. Turn off power at main fuse panel.
2. Install crossbar assembly complete with nipple and canopy chain loop to
junction box as one complete assembly. (Fig. 1)
3. Remove loop ring (C) from canopy loop (D). Slip canopy (E) over loop
(D) and secure by fastening loop ring (C). Adjust the height of the
nipple so canopy will sit flat against ceiling and tighten locknut (F)
against crossbar (G).
4. Remove loop ring (C) and canopy (E) from ceiling.
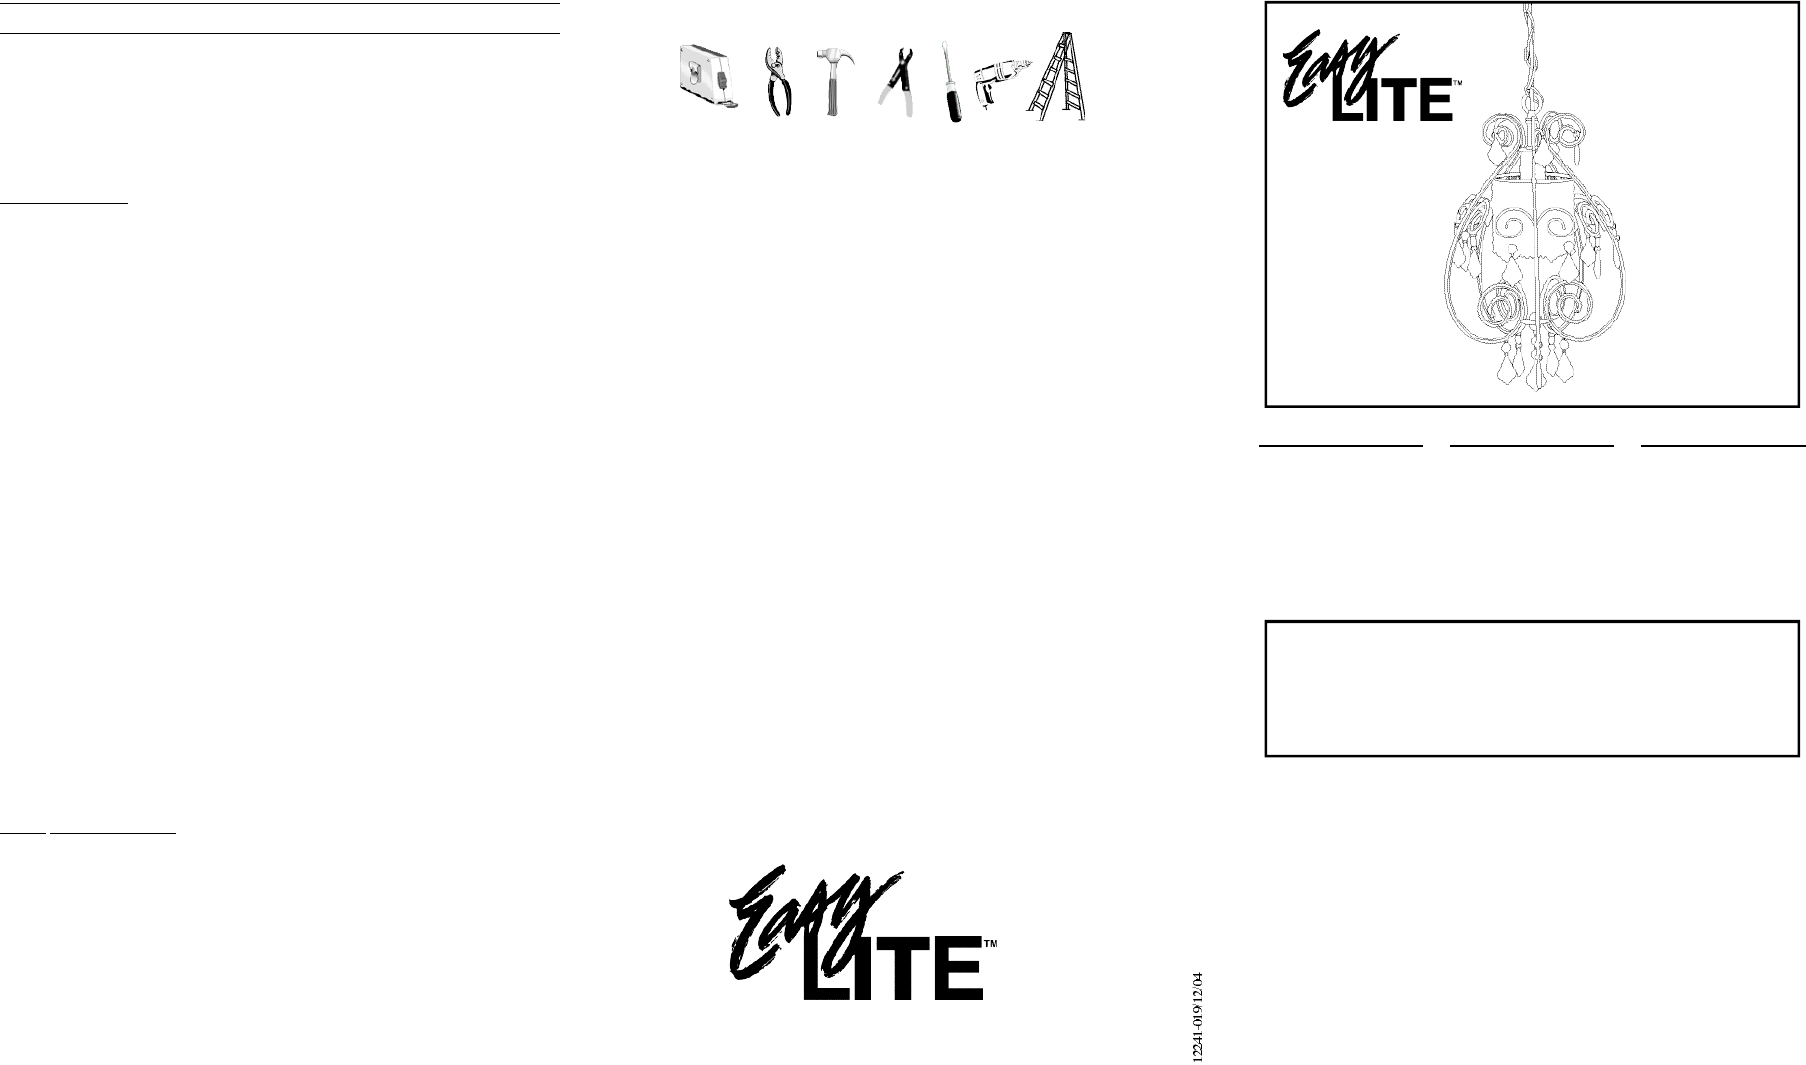
5. Assemble chandelier as per photo but do not weave wire through chain
links yet.
6. Hold chandelier up against canopy loop (D) with chain and adjust to
desired height. Remove excess chain.
7. Before tightening chain onto canopy loop (D), weave chandelier wire
through every second link.
8. Let the canopy loop ring (C) slip to the bottom of chain. Repeat this step
for canopy (E).
9. Tighten chain onto canopy loop (D).
10. Weave wire through the canopy loop and into junction box.
11. Install ground wire of chandelier with ground wire of canopy to ground
wire or ground screw of junction box or ground screw on crossbar.
12. Connect white wire of power supply to white (marked) wire of fixture
(or the one with raise longitudinal ridges if parallel flexible cord is used)
and connect black wire of power supply to black (marked)
wire of fixture (or the smooth wire if parallel flexible cord is
used). NOTE: Always use wire connectors or marrettes (included) to
connect wires and push all excess wire and connections back into
junction box.
13. Lift canopy up to ceiling covering junction box and secure by using
canopy loop ring (C).
BULB INSTALLATION
1. Install 100W Max A19 bulb (NOT INCLUDED)
2. Install crystal drops (A) onto appropriate rings as per line drawing.
3. Install crystal drops (B) onto appropriate rings as per line drawing.
TURN ON POWER
ENJOY YOUR EASYLITE™ LIGHTING PRODUCT
 (2 pages)

 (2 pages)
 Manymanuals.com
 Manymanuals.de
 Manymanuals.fr
 Manymanuals.it
 Manymanuals.pl
 Manymanuals.cz
 Manymanuals.es
 Manymanuals-pt.com
Commentaires sur ces manuels